Knots
All images on this page are thumbnail links - click on them for
full-size versions.
A recurring theme in much of my 3D tinkering is knotted curves; you may also have noticed their presence as footer images on these very pages. Below are the four main knot-related images I've created.

|

|

|

|
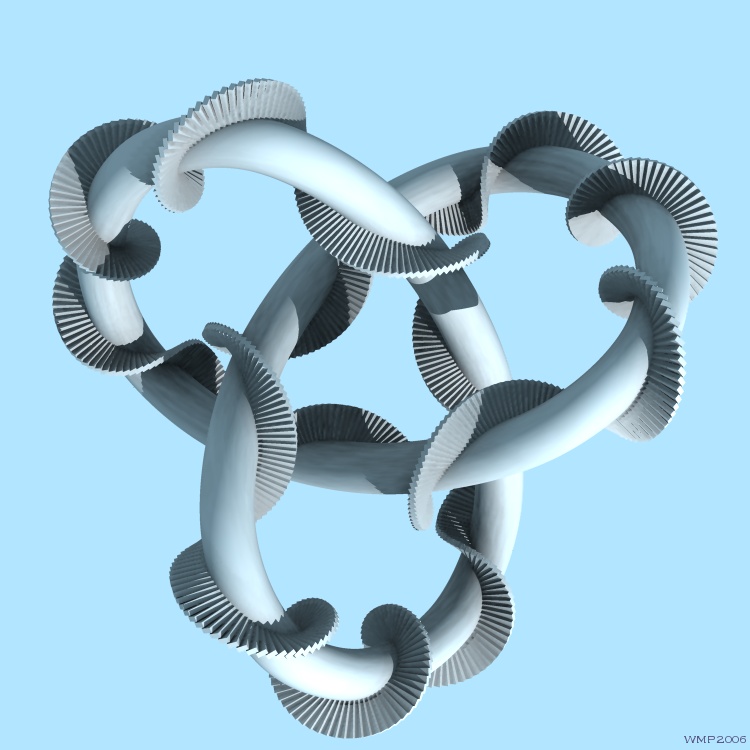
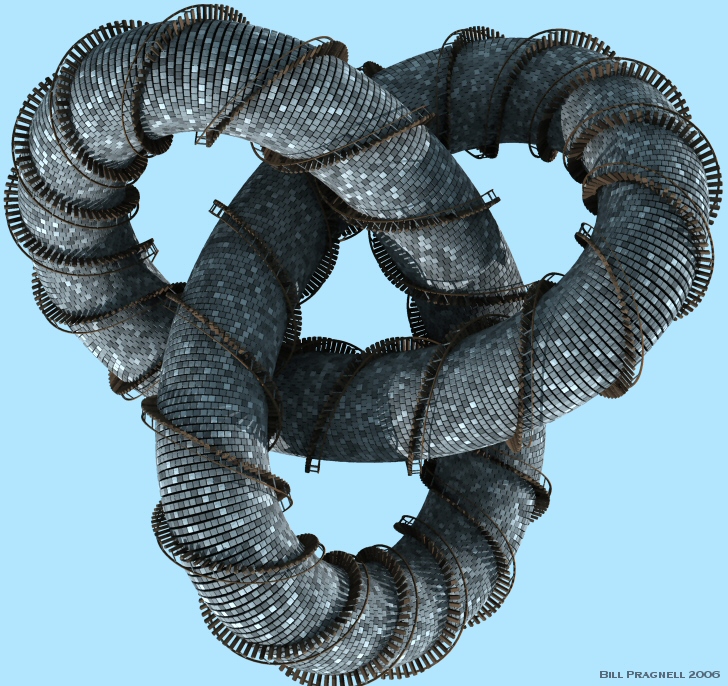
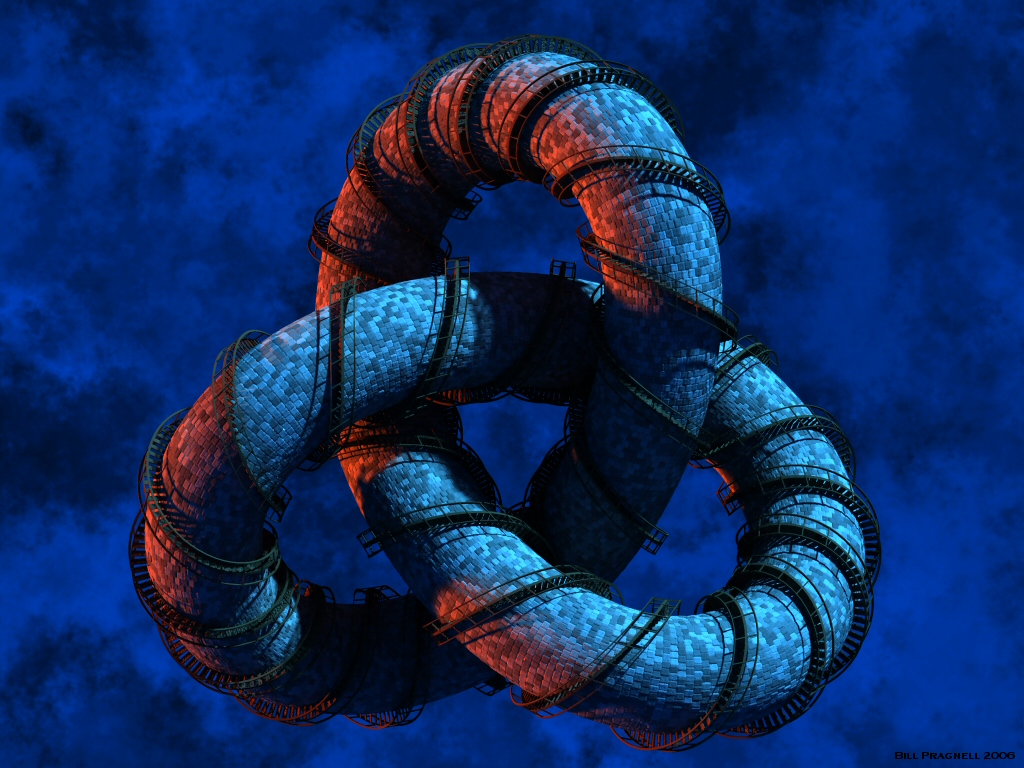
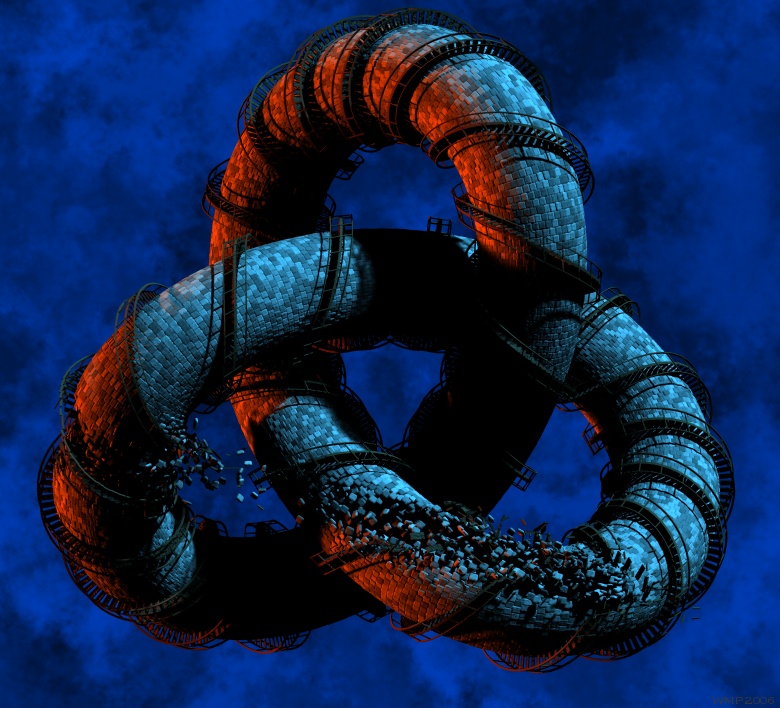
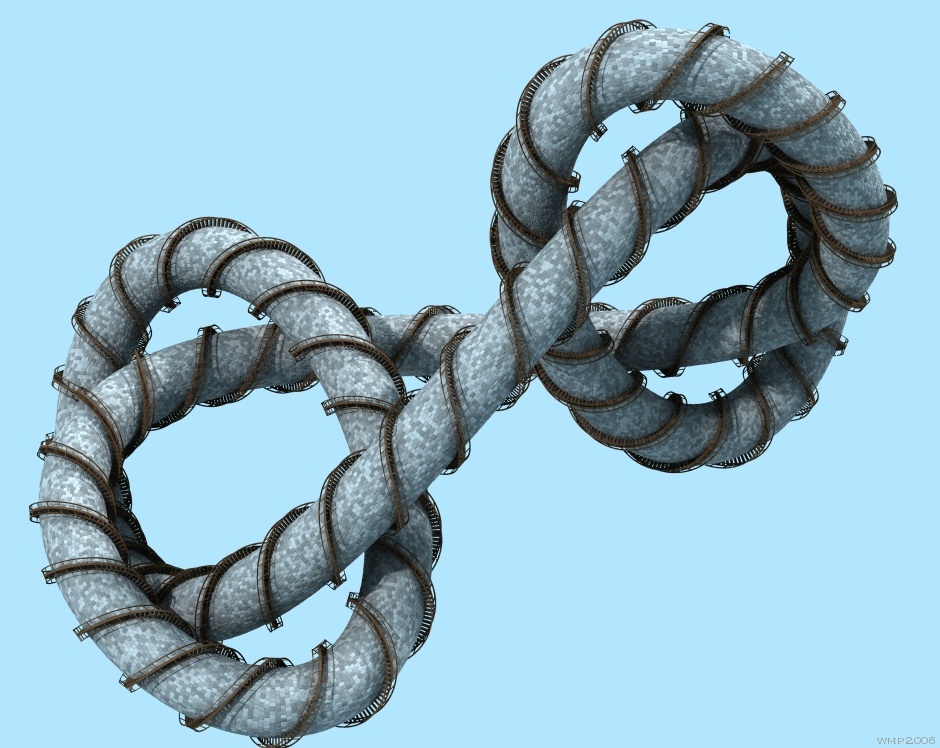
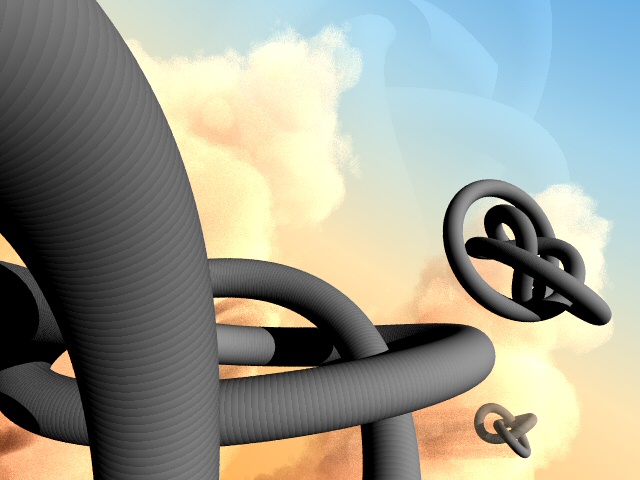
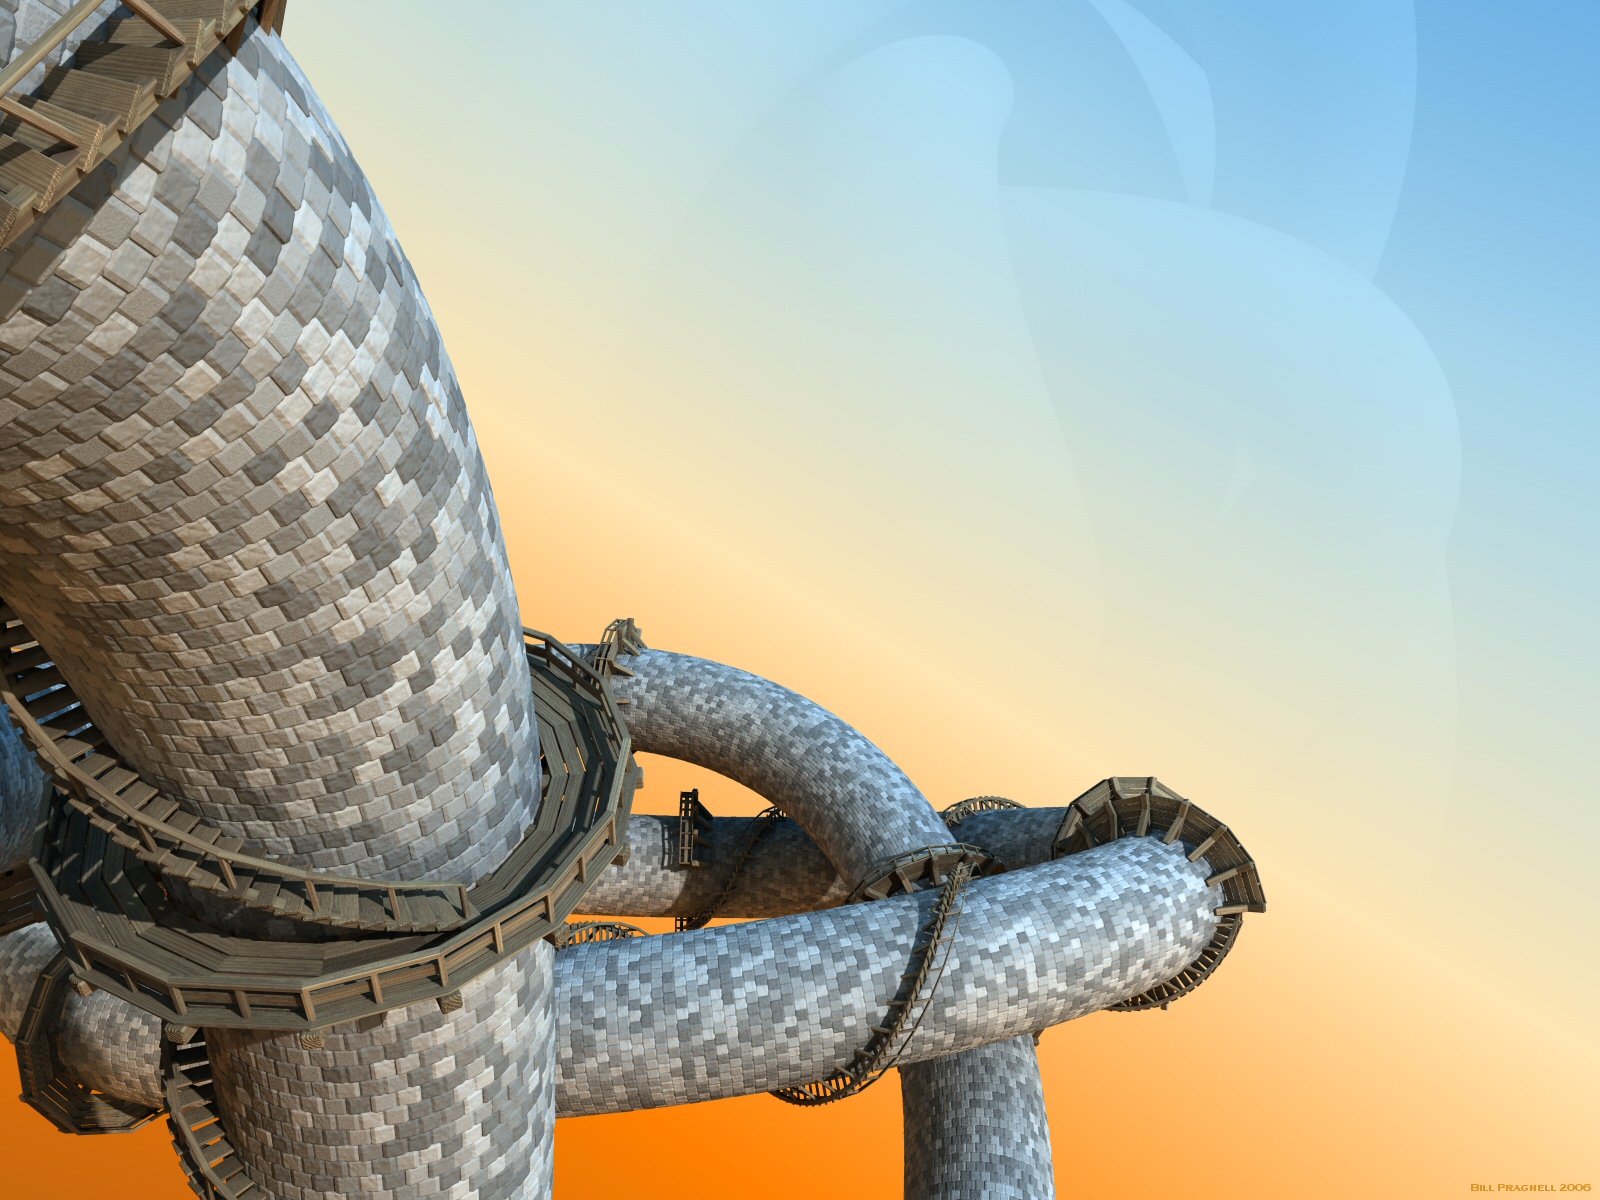
My interest in knots stems from two main sources. Firstly, I am a big fan of M.C.Escher's graphic art; it was in his work that I first saw a trefoil knot (he also constructed a moebius version). Secondly, my dad is also a fan, and carved a trefoil from a lump of wood. So I grew up looking at a physical trefoil knot ornament. The first image above was an attempt to recreate my dad's carving, and is pretty successful. The second is an updated version, based on a parametric rather than my original trial-and-error approach. The third is the first of an ongoing work involving building knots from discrete building blocks, i.e. bricks. It was created as part of the development route to the fourth image, called Knotworld. Knotworld is, to my mind, not as successful as the previous image in many ways, but is far more ambitious and impressive.
I'm interested not so much in discovering or manipulating knots as using them as a basis for more interesting, more 'applied' geometries. The latter two images above are attempts to give the knots some context, rather than displaying them as purely abstract mathematical forms.
I am not a theoretical mathematician, and I don't really know anything about knot theory. The forms in these images have been created using parametric equations that I have gleaned from various sources on the web (I'm sorry but I can't remember exactly where! If you are also a knot-monkey and you see your exact equations here without credit then I apologise, and I hope you like what I did with them). My original knot image (dating from 1999) does not; I actually worked out a lissajous figure in cylindrical coordinates to generate it, although I found I needed some extra transformations on the component object to prevent the shape from intersecting itself at its own centre. When I came to try some more interesting forms I felt I needed a self-contained parametric equation, so I went searching.
The parametric equations used here are as follows:
x = sin(a) + 2sin(2a)
y = sin(3a)
z = cos(a) - 2cos(2a)
Figure-of-eight knot:
x = (2 + cos(2a))cos(3a)
y = (2 + cos(2a))sin(3a)
z = sin(4a)
Granny knot:
x = -0.22cos(a) - 1.28sin(a) - 0.44cos(3a) - 0.78sin(3a)
y = -0.1cos(2a) - 0.27sin(2a) + 0.38cos(4a) + 0.46sin(4a)
z = 0.7cos(3a) - 0.4sin(3a)
0 <= a <= 2pi
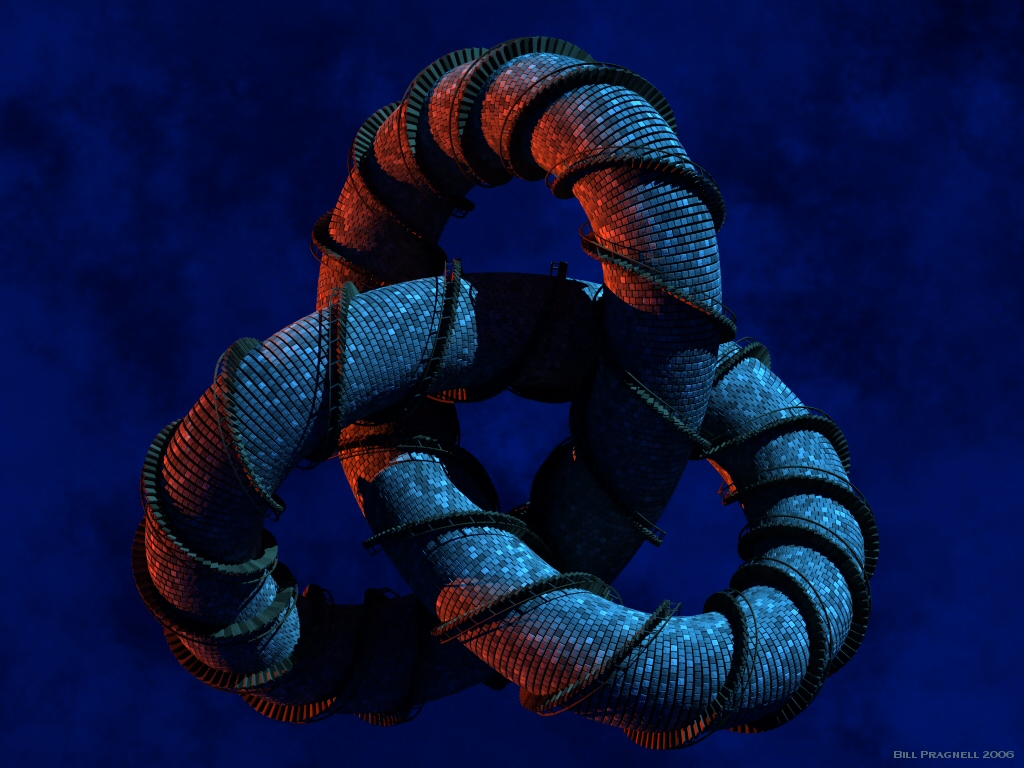
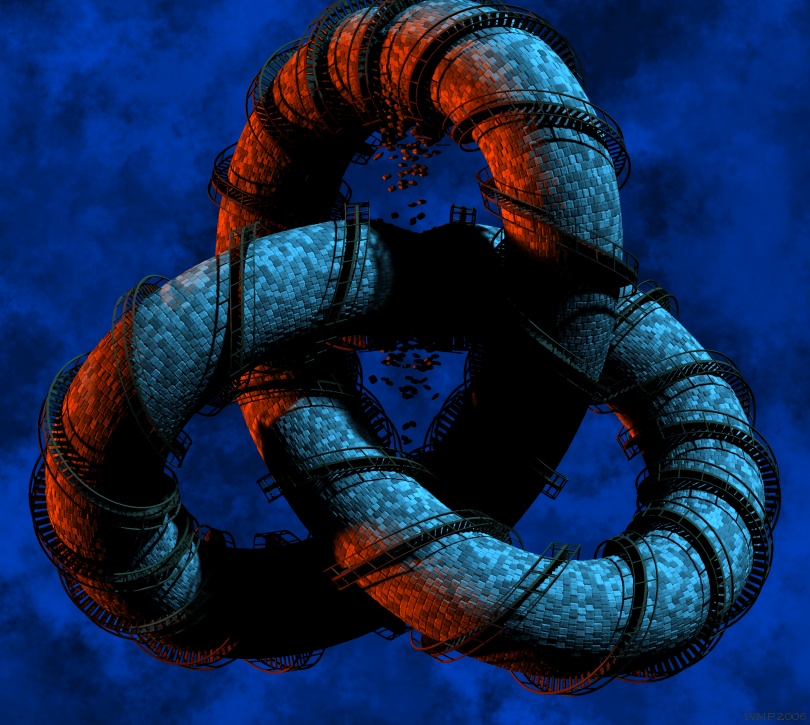
Destroyed trefoil
The basic concept of the brick knot, together with the helical staircases,
does merit some attention. I had a vision of the knot as an infinite
column wound with spiral staircases, and thought it a concept worth
exploring. I decided to build the structure from discrete bricks because I
could see no easy way to texture a knot; it's probably possible to UV-map
a mesh knot, but then the surface would be too smooth. This way, I
reasoned, close-ups would look really good, control of the bricks would be
easier and surface normals would be taken care of for the extra realism.
Because there would be a large number of bricks, I placed ten separately textured brick meshes in an array, so each one could be picked randomly and thus cut memory down to a minimum. Placing bricks is relatively simple. Each brick is placed separately (for reasons which will become clear below) using a single transform, comprising: radial translation, rotation around the y-axis, rotation to align the y-axis of the brick with the current knot path vector, and finally the actual translation to the current knot path location. The same basic algorithm applies to the steps and railings but with different spacings.
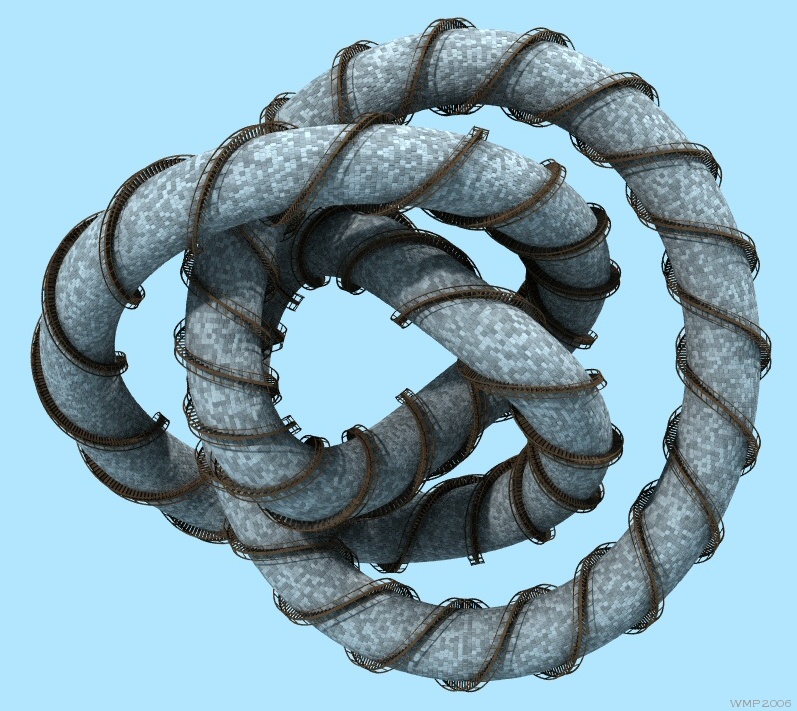
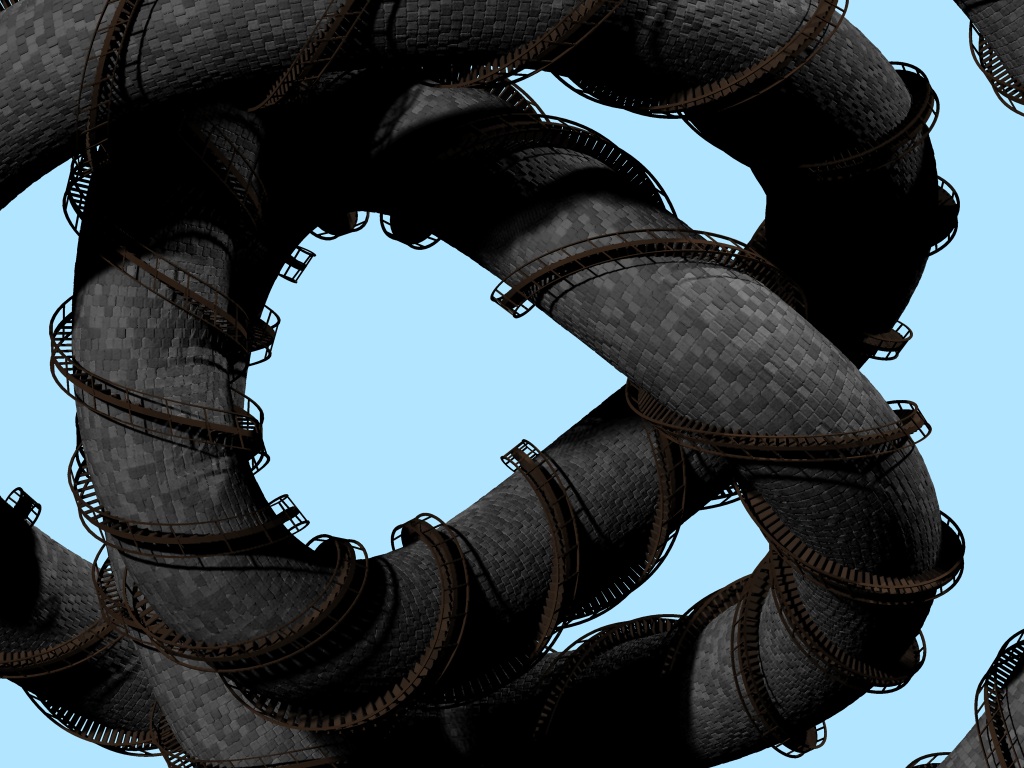
Below are some development images from this early stage. The first is a plain trefoil wound with steps. The second is one of the first brick-knot tests. The third is a brick-knot with steps. The fourth is a close-up of the wooden steps with railings in the style I settled upon (a kind of medieval look) and the fifth image is the trefoil version of all this so far.
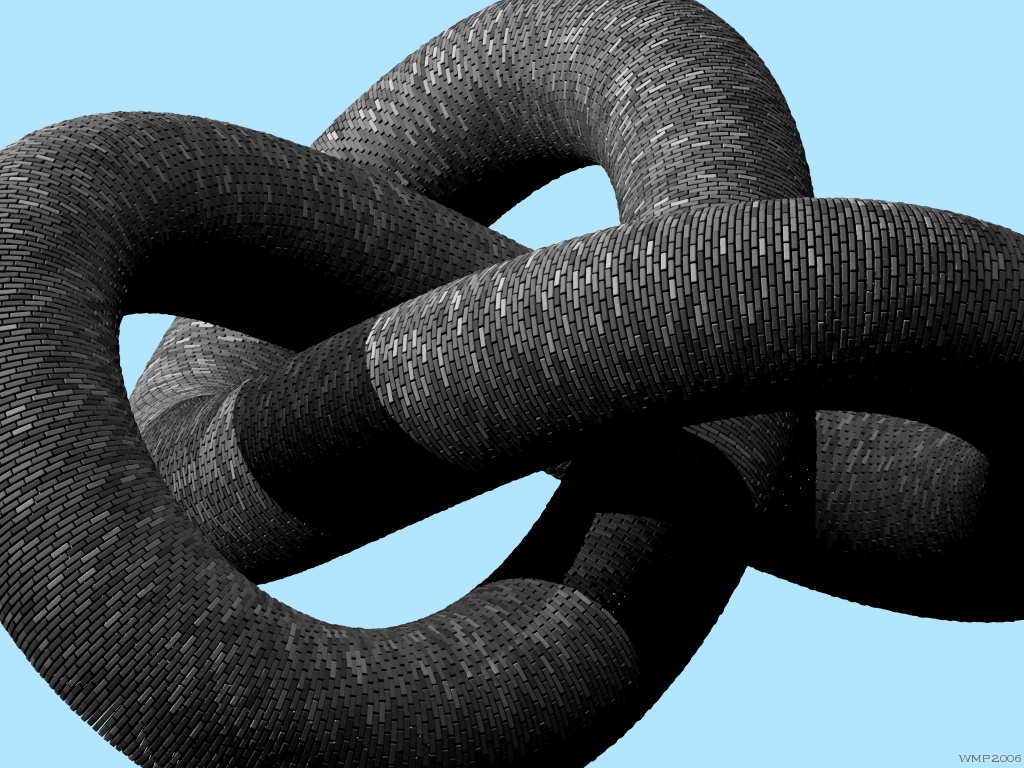
Close examination of these images betrays a small problem with the high-curvature sections of the knots: the bricks have large gaps between layers on the outside of the curves and are squashed together on the inside. The solution is to measure the separation between consecutive rings at different points around the radius and scale the bricks in the y-direction accordingly before placement.
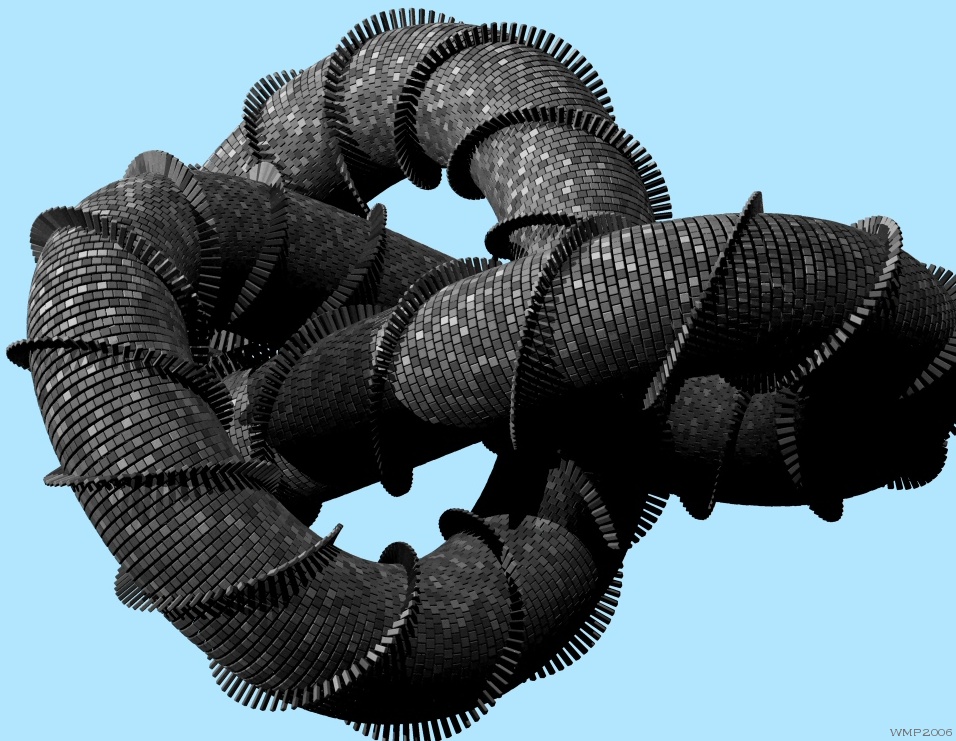
At this point I also started playing with an algorithm for imposing some destruction on brick structures - displacing bricks in proportional to their distance from a straight line. Because I had also built the staircases from discrete components, this technique was automatically applicable to the knot, and required very little modification to make it work. The code for perturbing the bricks is pretty simple:
#local w = pos - p0;
#local ul = vnormalize(p1-p0);
#local dist = vlength(vcross(ul, w));
#local uv = vnormalize(VPerp_To_Vector(ul));
#local vv = vnormalize(VPerp_To_Plane(ul, uv));
#local trans = ul*len*exp(-(len/rad)*dist);
#local rang = vlength(trans);
#local u_ad = uv*rang*tan(radians(scatter));
#local v_ad = vv*rang*tan(radians(scatter));
#local trans = trans + rand(r1)*u_ad-u_ad/2 + rand(r1)*v_ad-v_ad/2;
(trans)
#end
Where pos is the location of the object to be perturbed, p0 and p1 are two points on the line (the impact trajectory, if you like), len and rad control the range of the perturbation effect and scatter is the spreading angle in degrees. Naturally, this needs to be applied to bricks after placement in the knot structure. All I had to do then was place the lines of perturbation by trial and error - here are two rejected images before I settled on the final version:
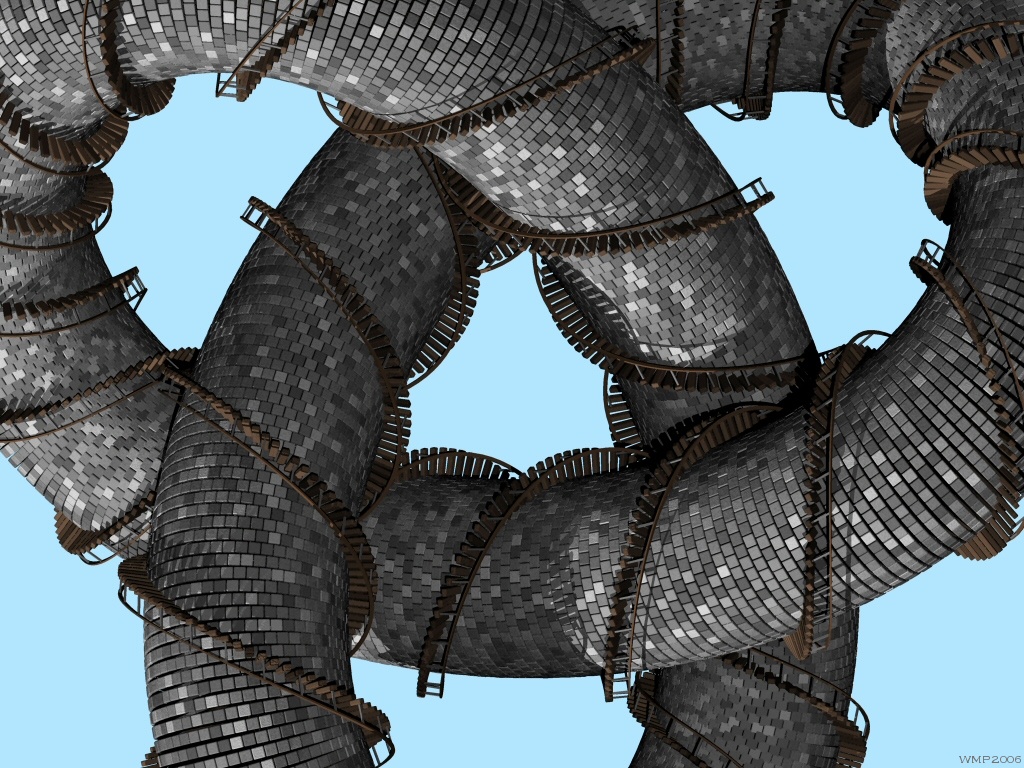
Knotworld
I had the final goal of knotworld in mind while developing the the
destroyed trefoil; visions of castle-like knots floating through space and
attacking one another with cannons. I eventually decided against this
extreme because the scene was just taking too long - I think I spent over
six months on this altogether!
For knotworld, I wanted the viewer to be in the sky with several large medieval knots. I used granny knots and figure-eight knots in the end, each of which needed to work with the brick and staircase macros. Here are some test renders:
The parse time was getting far too long with the larger knots, so I wrote precalculated knot locations for bricks and staircase elements to a data file for each knot type, which could then be read in while placing bricks and planks. This cut down on a lot of the calculation time and made parsing faster.
I became unhappy with the repetitive nature of the staircases and decided to make them a bit more functional. To this end, I also decided to place platforms at intervals along the knot to give the impression of habitation rather than the infinite ascending/descending theme of the previous versions. A lot of effort was devoted to refining the texturing of the gantries so they'd look good from close up, and generating the stairs and platforms randomly so that handrails matched up and so on. It took quite a lot of time playing with the random seed to get platform/staircase combinations that looked good with my chosen camera position, too.
The cloudscape was made with two tall sphere containers filled with scattering media shaped by a granite density function. This took a while because I'd never tried to create media clouds before. Windows in the brickwork were also very difficult - I experimented briefly with cutting them out via CSG but in the end the only realistic method proved to be to leave gaps in the brickwork while assembling the knot. This proved arduous, especially making sure that windows didn't end up in the same places as stairs and platforms!


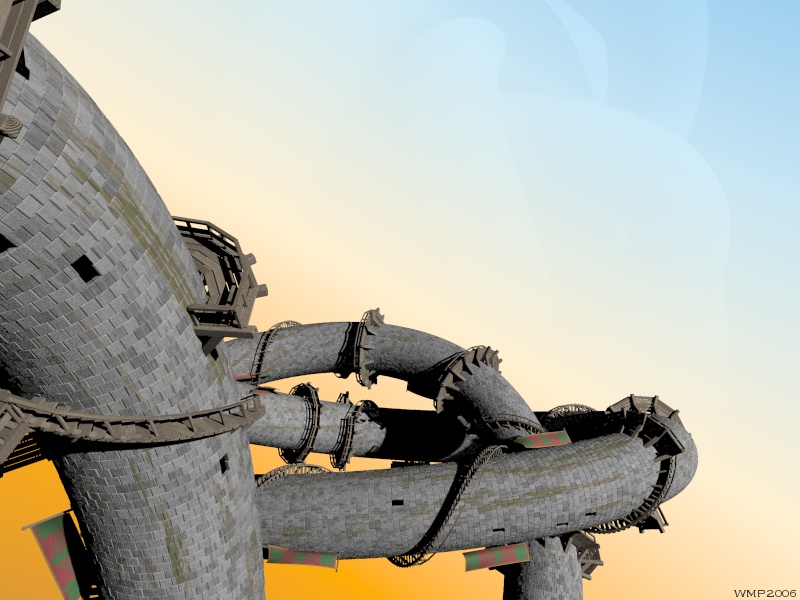
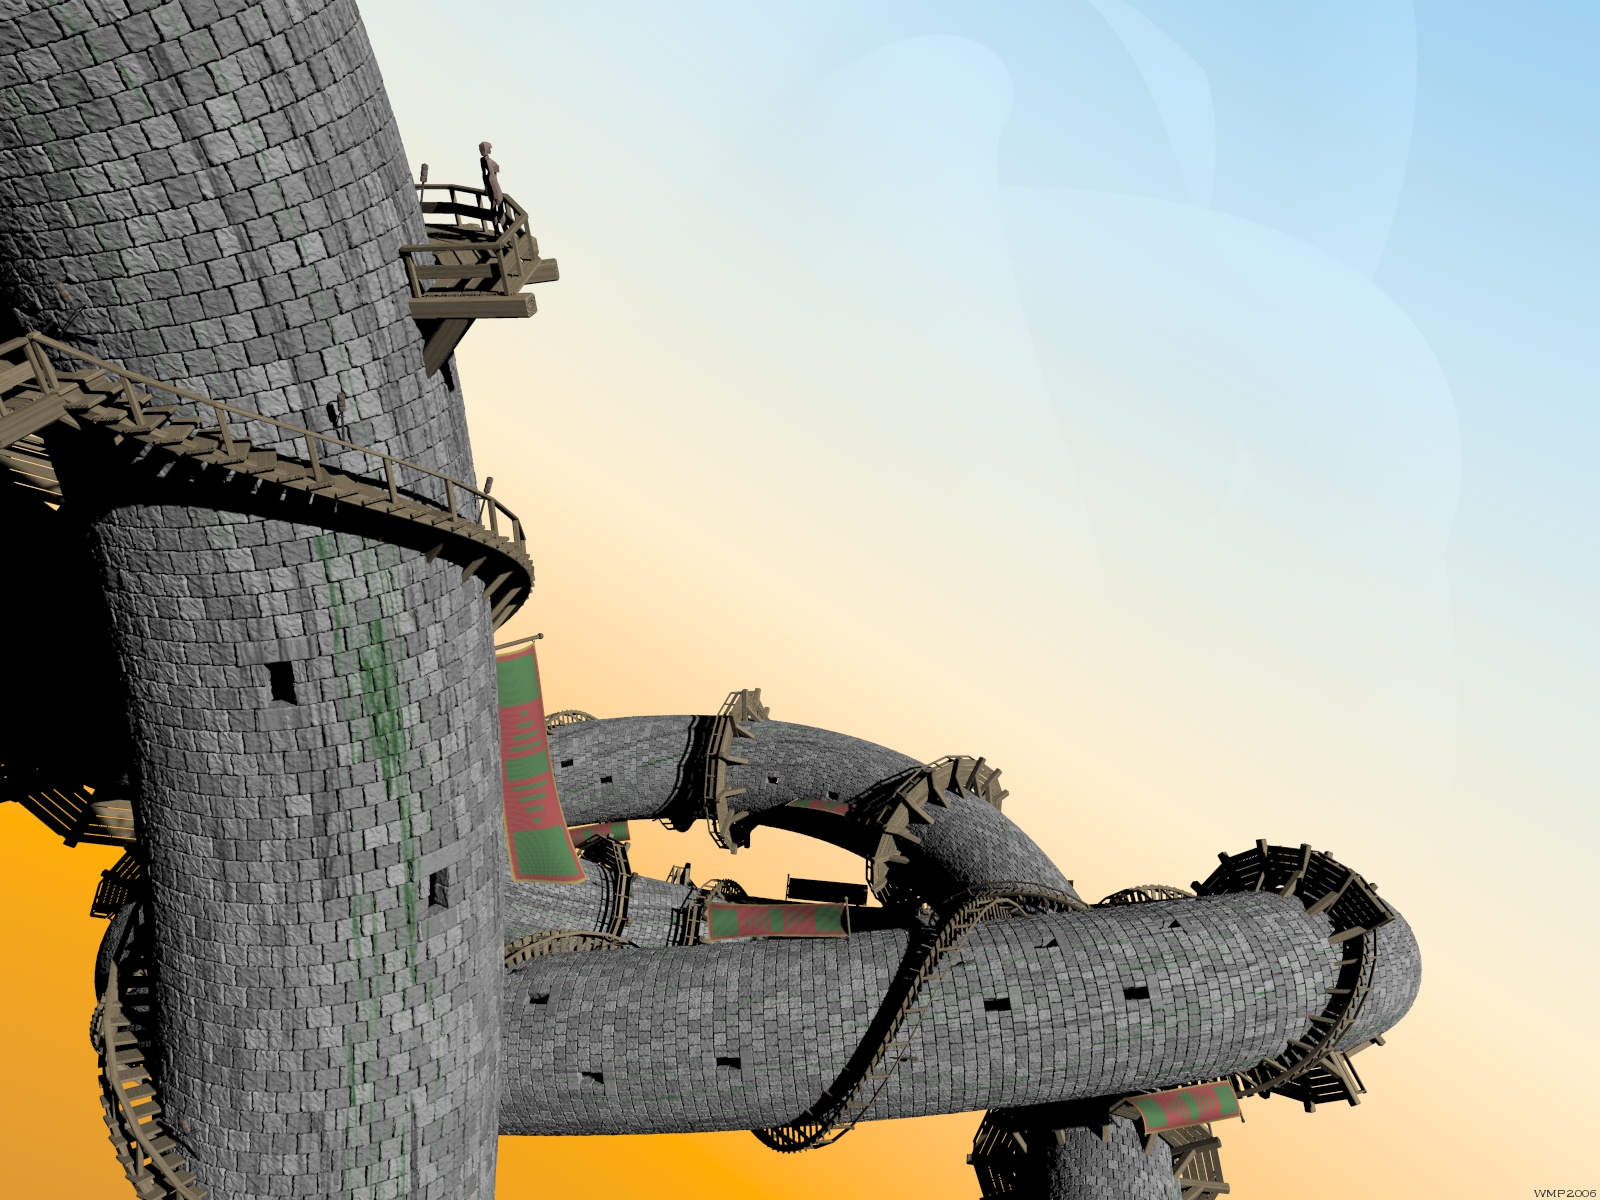
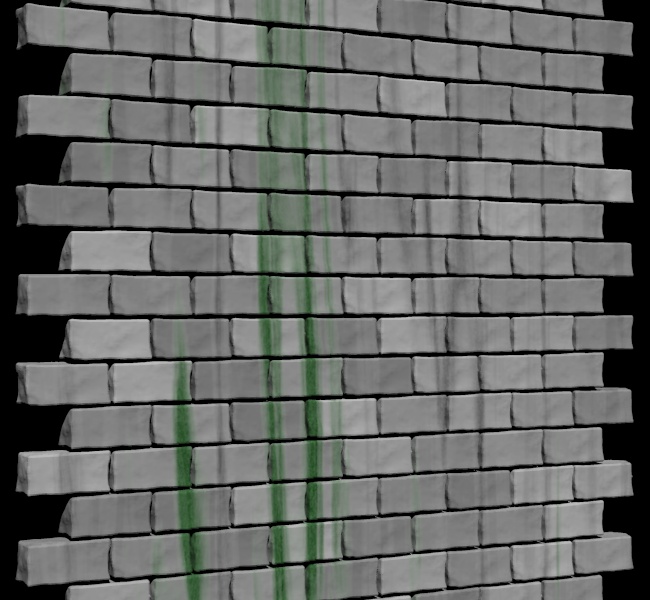
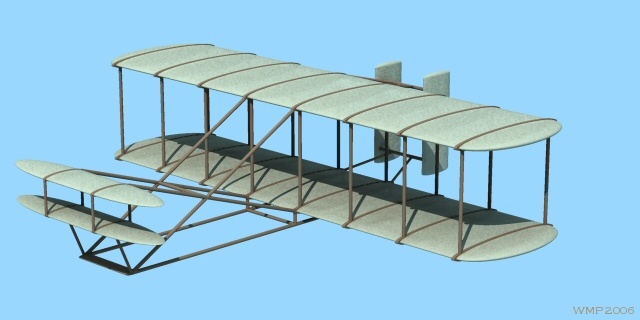
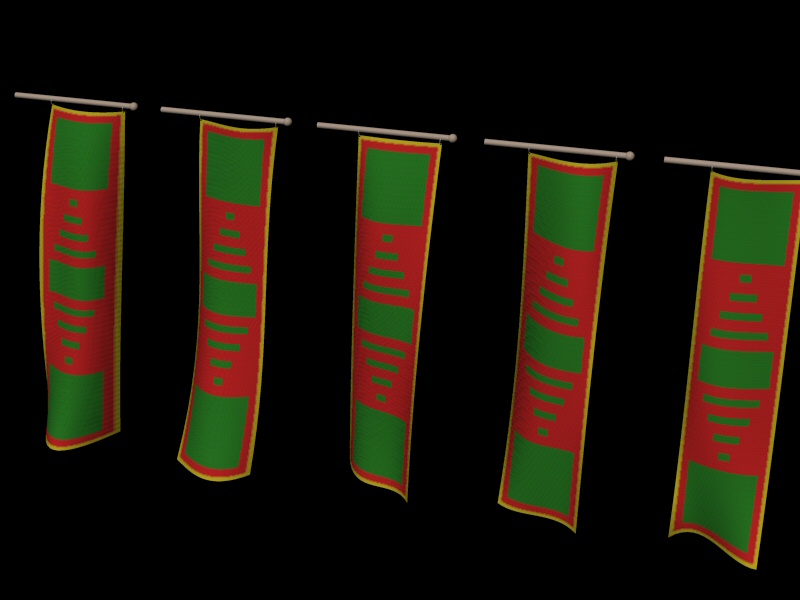
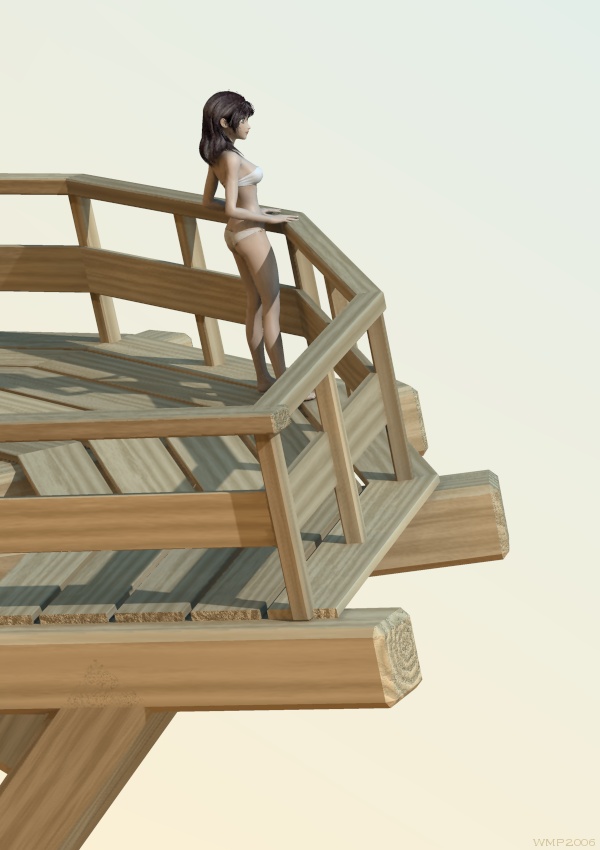
The brickwork also needed refining - I eventually used the weathered brick macro (see 'Resources') to generate my brick array, which made the scene more memory-hungry. Texturing the brickwork with moss/dirt to add some real-life grit also proved tricky - the texture itself was OK (see below) but making it follow the knot properly required some positively gymnastic texture transformations. Other final touches were the aircraft floating among the knots (CSG-built, based on the Wright brothers' 1902 glider), some banners floating in the breeze (created using bicubic patches), and the barely-visible girl standing on the foreground platform looking at the view (my first ever use of DAZ figures - it's Aiko3, with Yamato's Moko hair and Jyune bikini).
The final scene took over an hour and a half to parse, and several days to render. Well worth it though!