Ghost light
This page gives some details about the development of the 'Ghost Light' image. The image was an entry, and ultimate first place winner, of the IRTC 'absence' round. Sadly this round was the last before the IRTC mysteriously went on hiatus, and at time of writing the home page has still not been changed.
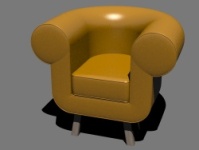
I brainstormed the image simply by using the word 'absence' in a Google Images search. One of the results was a simple photograph of a chair in a minimalist setting, and this struck a chord in my imagination. From the idea of the chair's occupant being absent, I randomly alighted on the concept of a ghost revisiting its former life.
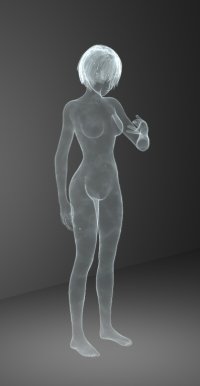
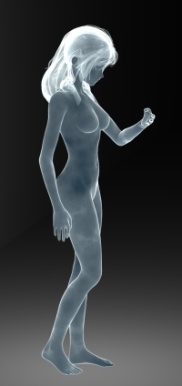
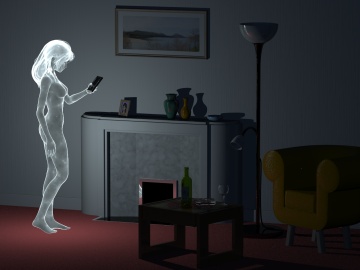
For such a concept to be feasible, the ghost had to work. There were two main aspects to this. Firstly, I needed a believable human figure which was unambiguously ethereal in nature. Secondly, in line with established cinematic cliche, I thought it would be nice if the glowing ghost could be used to light the room in a night-time setting.
The first requirement could obviously be realised using one of the free Daz human models (Aiko3), but I quickly found that merely making the ghost transparent with a high-ambient swirly surface pattern would not suffice. For a start, portions of the model were showing through from the other side and making it difficult to see where the limbs etc actually were (pic). Secondly, I wanted a glowing outline around the figure, as if it were occluding an otherwise invisible light source. My eventual solution was to produce a finite-thickness 'shell' around the model by differencing a copy of the model from itself. The inner copy could not simply be scaled; it needed to be shrunk along its normals, which was achieved using Blender (some additional tidying of the model was also performed at this stage). This shell was then filled with emitting media having a low enough density such that it only showed up at steep viewing angles - producing the outline glow I wanted. I also made the inner surface of the shell opaque to prevent the show-through problem.
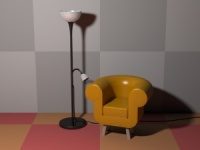
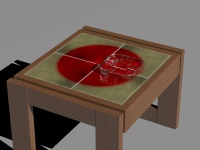
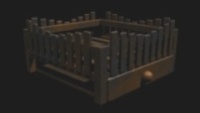
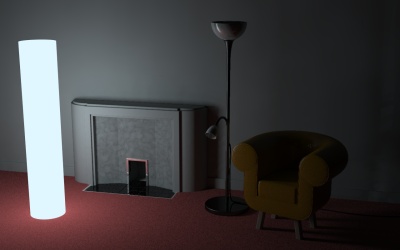
With the ghost to my satisfaction, I could proceed with its environment. I wanted a relatively uncomplicated room, with simple but believable furniture. Time was an issue if I wanted to complete the image within the deadline, so I carefully designed furniture that could be made purely from CSG yet still look real. The chair, the lamp, sideboard, coffee table, ashtray, fireplace tools and shelves are all CSG objects. The fireplace, also CSG, was based on the 1930s fireplace in my flat. The wine bottles and glasses are lathes created from cubic splines drawn in InkScape.

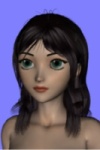
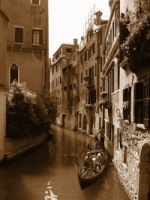
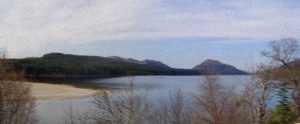
I wanted to give the subtle impression that the ghost was visiting her former home, so I decided to pose her looking at a framed picture off the mantelpiece - although the picture can't be seen from the final angle, it is actually a picture of herself (below). The other pictures on the wall, also shown below, are photographs I took on holiday - one is a Venetian canal, the other a scottish loch.
Almost half the deadline was spent developing the lighting. I toyed with using a pair of crossed tall area_lights over a shadowless ghost, but eventually settled for pure radiosity lighting, which required cranking up all the radiosity parameters and using the multiple pass technique. Needless to say, this made the rendering very slow, and unfortunately introduced some unavoidable artifacts (patchiness in the darkest regions, plus some random spots on reflective objects). Here are a couple of lighting development renders, also featuring the original, slightly oblique camerea angle that I eventually jettisoned in favour of a long-angle widescreen:
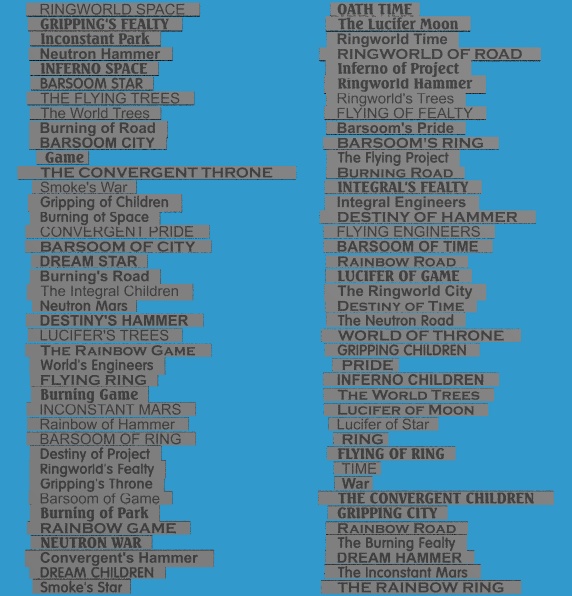
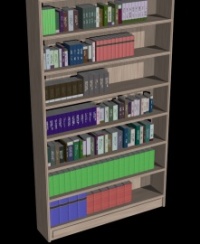
Also worth mentioning are the books, barely visible in the near-darkness to the right. I didn't want the bookshelves to be half-hearted, and thought it a good excuse to write a couple of book and shelf macros. Just in case I ever render it really large (which I have), I decided to use realistic authors and titles. To this end, I have two text files containing lists of authors first and last names, and a set of likely words making up book titles respectively. Titles and authors are assembled randomly by the macro, which then assembles them onto the spine of a randomly-coloured book. For some variety, I also made a simple leatherbound-book macro too, which makes text-less old-fashioned-looking leather books. These can then be grouped like the volumes of an old encyclopedia or bound journals in academic libraries.
In this image, all author names are taken from some of my favourite science fiction authors, and the titles from words commonly found in the titles of Larry Niven's work. The image below shows a set of examples, before they are applied to the book spines. Click on the thumbnail to see the full-size image.